Prerequisites
- A running instance (status shows Running in the dashboard)
- For SSH: an SSH key uploaded to your account, or the password you set during instance creation
- For WebUI: an instance created with a supported template (Stable Diffusion, ComfyUI, or Linux Desktop)
Finding Your Connection Details
- Go to My Instances in the console
- Find your running instance
- Click the Connect button
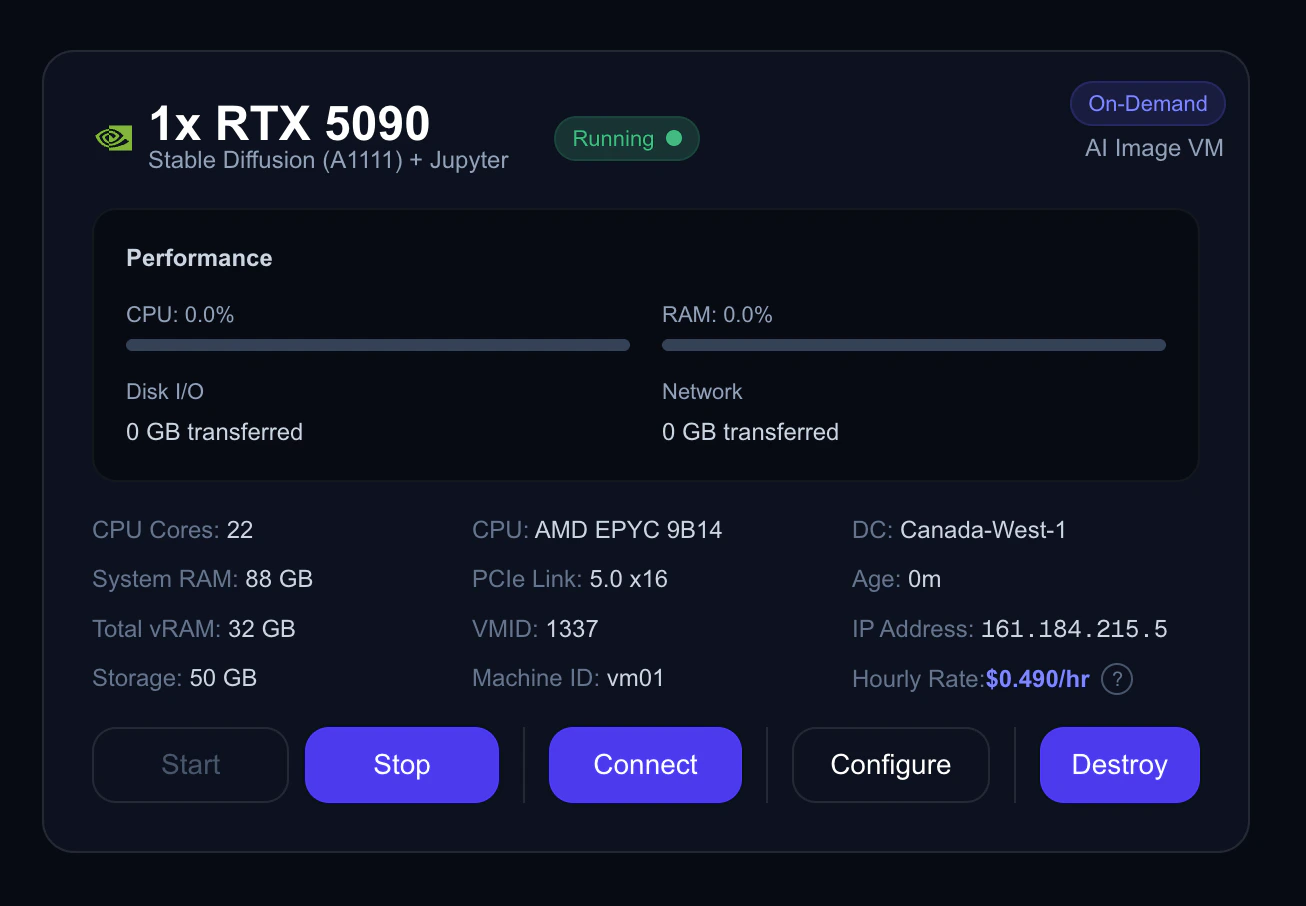
Instance card with Connect button highlighted
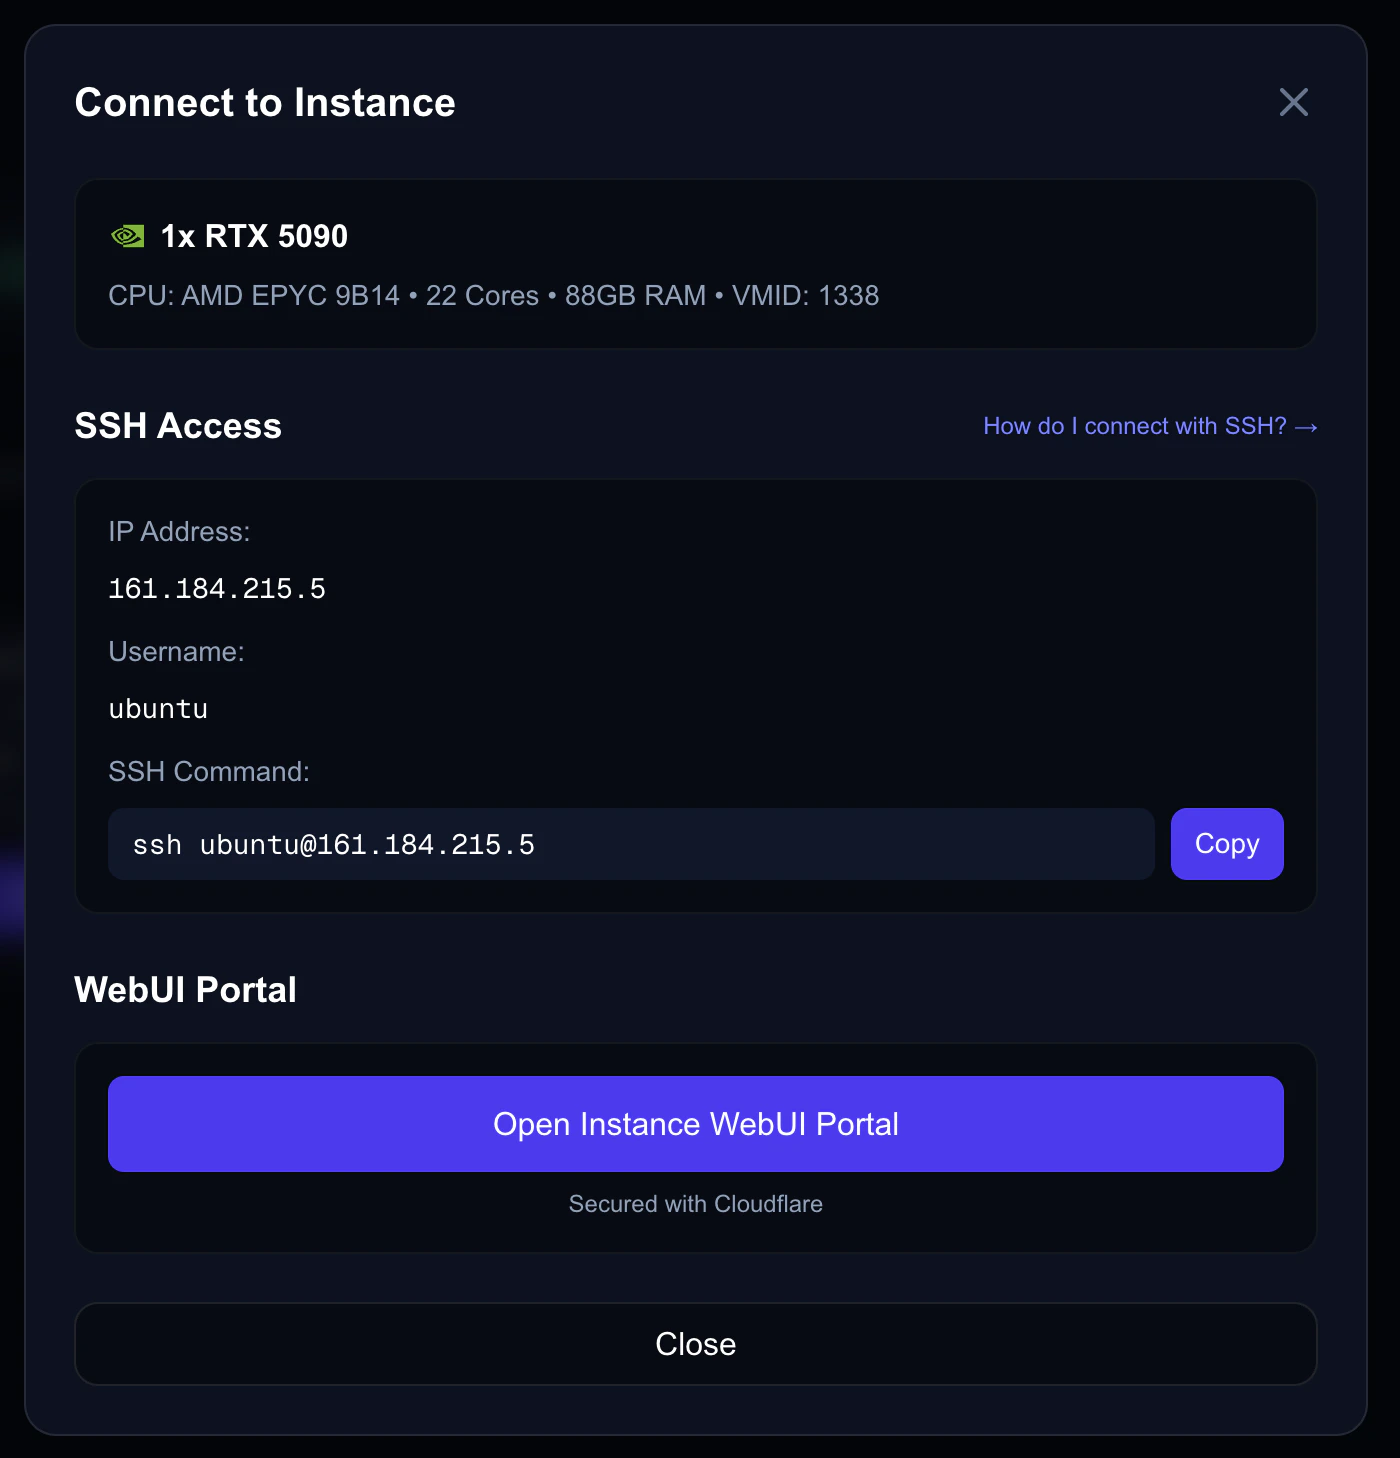
Connection details showing SSH command and WebUI portal status
Connecting via SSH
SSH gives you full terminal access to your instance. This is the primary way to interact with your VM.Your SSH Details
Connect from Your Terminal
- Mac
- Windows (PowerShell)
- Windows (PuTTY)
- Linux
Open Terminal (Cmd + Space → “Terminal”) and run:Replace
<your-vm-ip> with the IP address shown after clicking Connect.First-Time Connection
When connecting to an instance for the first time, you’ll see a host key verification prompt:yes and press Enter. This is normal and only happens once per instance. Your computer remembers the host key for future connections.
Using a Specific SSH Key
If you have multiple SSH keys, specify which one to use:Connecting with a Password
If you chose password authentication when creating the instance:Connecting via WebUI Portal
The WebUI portal gives you browser-based access to web applications running on your instance. This is available for instances created with specific templates.Supported Templates
Accessing the WebUI
- Go to My Instances and click Connect on your running instance
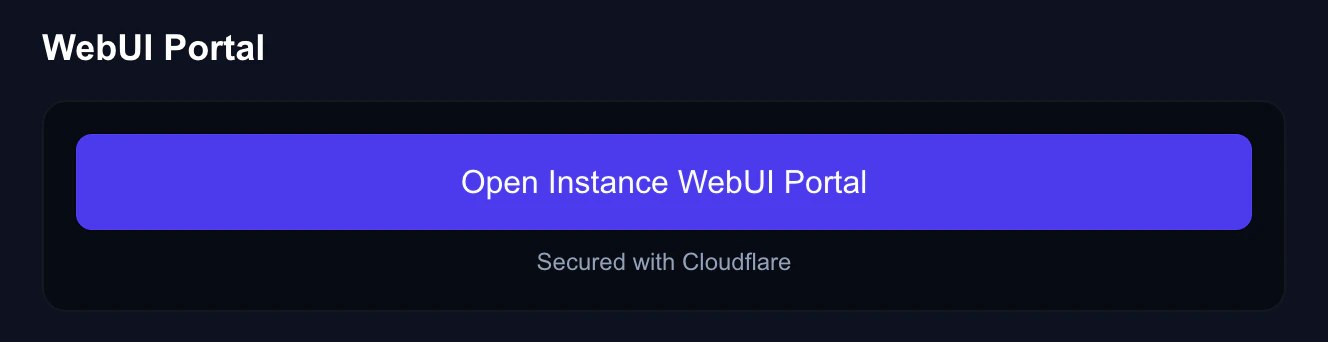
- In the connection details window, find the WebUI Portal section
- Click Open WebUI to launch the portal in a new browser tab
WebUI portal status showing Ready
WebUI Status
The portal can be in one of three states:The WebUI portal is secured via Cloudflare. It provides authenticated access to web services running inside your VM without needing to open ports manually.
Keeping Your Session Alive
Long SSH sessions can disconnect due to network timeouts. To prevent this, configure your SSH client to send keepalive packets.Mac / Linux
Add these lines to your~/.ssh/config file:
Windows (PowerShell SSH)
Create or editC:\Users\YourName\.ssh\config with the same configuration:
Transferring Files
Upload Files to Your Instance
- Mac / Linux
- Windows (PowerShell)
Use
scp to copy files:Download Files from Your Instance
Troubleshooting
Connection refused
Connection refused
- Verify the instance status is Running in the dashboard
- Double-check the IP address — click Connect on your instance to find it
- Wait 1–2 minutes if the instance was just started; SSH may take a moment to be ready
Permission denied (publickey)
Permission denied (publickey)
Your SSH key doesn’t match. Try:
- Check which keys are loaded:
ssh-add -l - Specify the key explicitly:
ssh -i ~/.ssh/id_ed25519 ubuntu@<ip> - Verify you uploaded the correct public key to Nova Cloud (Account → SSH Keys)
Connection timed out
Connection timed out
- Confirm the instance is in Running state
- Newly created instances can take up to 10 minutes to provision — check the status in the dashboard
- Try stopping and starting the instance from the dashboard
WebUI shows Initializing for a long time
WebUI shows Initializing for a long time
The WebUI portal typically starts within 30–60 seconds. If it’s been longer:
- Try closing and reopening the connection details
- Stop and start the instance
- Check if the instance is still Running in the dashboard
Host key verification failed
Host key verification failed
This happens if you’ve connected to a different instance that previously had the same IP address. Remove the old key:Then try connecting again.
What’s Next?
Instance Ports
Open ports for web services, Jupyter, and custom APIs.
SSH Keys
Manage your SSH keys and troubleshoot connection issues.